

Installing WebSphere Application Server 8.5.5 Fixpack 18
Credit for this write up goes to Benson Lam (IBM); who, despite what he says, knows everything there is to know about the WebSphere Application Server product. He’s not at all like Jon Snow that way.
Fun fact: during my internship at IBM I was a member of the WebSphere Install team. I installed WebSphere 6.1 or 7.0 multiple times per day every day for months. Well, it turns out that things change in 13 years, and I’ve forgotten some stuff.
Still, why am I even doing this in the first place? Great question! There’s still a huge market for modernization applications and migrating them to the cloud. Java based applications running on traditional WebSphere Application Server deployments are prime candidates to be containerized with Open Liberty and moved to Kubernetes. How you do this latter part will not be covered in this document, maybe another post, for now I want to write down some key steps so I know how to spin up a traditional WAS environment with as little hassle as possible.
Platform
I used a Ubuntu 18 virutal machine on IBM Cloud. The default 25 GB of disk space had just enough room to install WAS Fixpack 18.
Prereqs
You’ll need to get the following files:
| Pre-req | File name | Where to get it |
|---|---|---|
| IBM Installation Manager | agent.installer.linux.x86_64.zip |
IBM Support |
| WebSphere Application Server v8.5.5 | WAS_V8.5.5__1_OF_3__MPML.zip |
“Xtreme Leverage” (Internally) or Passport Advantage |
| WAS v8.5.5 Fixpack 18 | 8.5.5-WS-WAS-FP018-part1.zip |
IBM Fix Central |
NOTE For demonstrative purposes it’s sufficient to use the “Base” edition of WAS. There are other editions, like “Express” or “Network Deployment (ND)”. The “Base” edition does not have a suffix in the product name.
Steps
One kink when using WAS on Ubuntu is that you need to use the bash shell, not the dash shell which is the default. To change the shell run the following command:
sudo dpkg-reconfigure dash
Preparing the zip files
Now let’s put all the files on the virtual machine. I used sftp, use whatever tool you’d like.
mkdir was-installers
mv WAS_V8.5.5__* was-installers/
cd was-installers
unzip WAS_V8.5.5__1_OF_3__MPML.zip
unzip WAS_V8.5.5__2_OF_3__MPML.zip
unzip WAS_V8.5.5__3_OF_3__MPML.zip
And do the same for the Fixpack
mkdir was-fixpack
mv 8.5.5-WS-WAS-FP018-part* was-fixpack/
cd was-fixpack
unzip 8.5.5-WS-WAS-FP018-part1.zip
unzip 8.5.5-WS-WAS-FP018-part2.zip
unzip 8.5.5-WS-WAS-FP018-part3.zip
And do the same for Install Manager:
mkdir im
mv agent.installer.linux.gtk.x86_64_1.9.1003.20200730_2125.zip im/
cd im
unzip agent.installer.linux.gtk.x86_64_1.9.1003.20200730_2125.zip
Install IBM Install Manager, WAS 8.5.5 and Fixpack 18
Install the Install Manager (yeah, it’s it doesn’t sound any less weird when you say it out loud)
# from the unzipped install manager directory
./installc -acceptLicense
This will be installed under
/opt/IBM/InstallationManager/
Install WAS 8.5.5 with Install Manager
cd /opt/IBM/InstallationManager/eclipse/tools/
./imcl install com.ibm.websphere.BASE.v85_8.5.5000.20130514_1044 -repositories ~/was-installers/ -acceptLicense
This will be installed under
/opt/IBM/WebSphere/AppServer
Update WAS to Fixpack 18
cd /opt/IBM/InstallationManager/eclipse/tools/
./imcl install com.ibm.websphere.BASE.v85_8.5.5018.20200910_1821 -repositories ~/was-fixpack/ -acceptLicense
You’ll probably get a warning about the Java version changing. It’s fine and actually helpful since the sample application we’ll deploy needs a newer Java version to run.
The version of Java SE in the WAS_HOME/java directory was updated to Java SE 8.
Server profiles configured to run with Java SE 6 were found. After the fixpack update, these profiles were automatically reconfigured to run with Java SE 8.
If these server profiles are managed application server nodes, you must manually update the deployment manager view of this node by running the following command:
  syncNode.sh <dmgr_hostname> <dmgr_port>
Create a profile and start a server
Now that things are installed we need to create a profile and server. First the profile:
cd /opt/IBM/WebSphere/AppServer/bin
./manageprofiles.sh -create -templatePath ../profileTemplates/default/
The new profile is under
/opt/IBM/WebSphere/AppServer/profiles/AppSrv01/
Start the server:
cd /opt/IBM/WebSphere/AppServer/profiles/AppSrv01/bin
./startServer.sh server1
You’ll see the classic message:
ADMU0128I: Starting tool with the AppSrv01 profile
ADMU3100I: Reading configuration for server: server1
ADMU3200I: Server launched. Waiting for initialization status.
ADMU3000I: Server server1 open for e-business; process id is 19777
Check the logs for output should something go wrong:
vi /opt/IBM/WebSphere/AppServer/profiles/AppSrv01/logs/server1/startServer.log
vi /opt/IBM/WebSphere/AppServer/profiles/AppSrv01/logs/AboutThisProfile.txt
Check the console and default apps
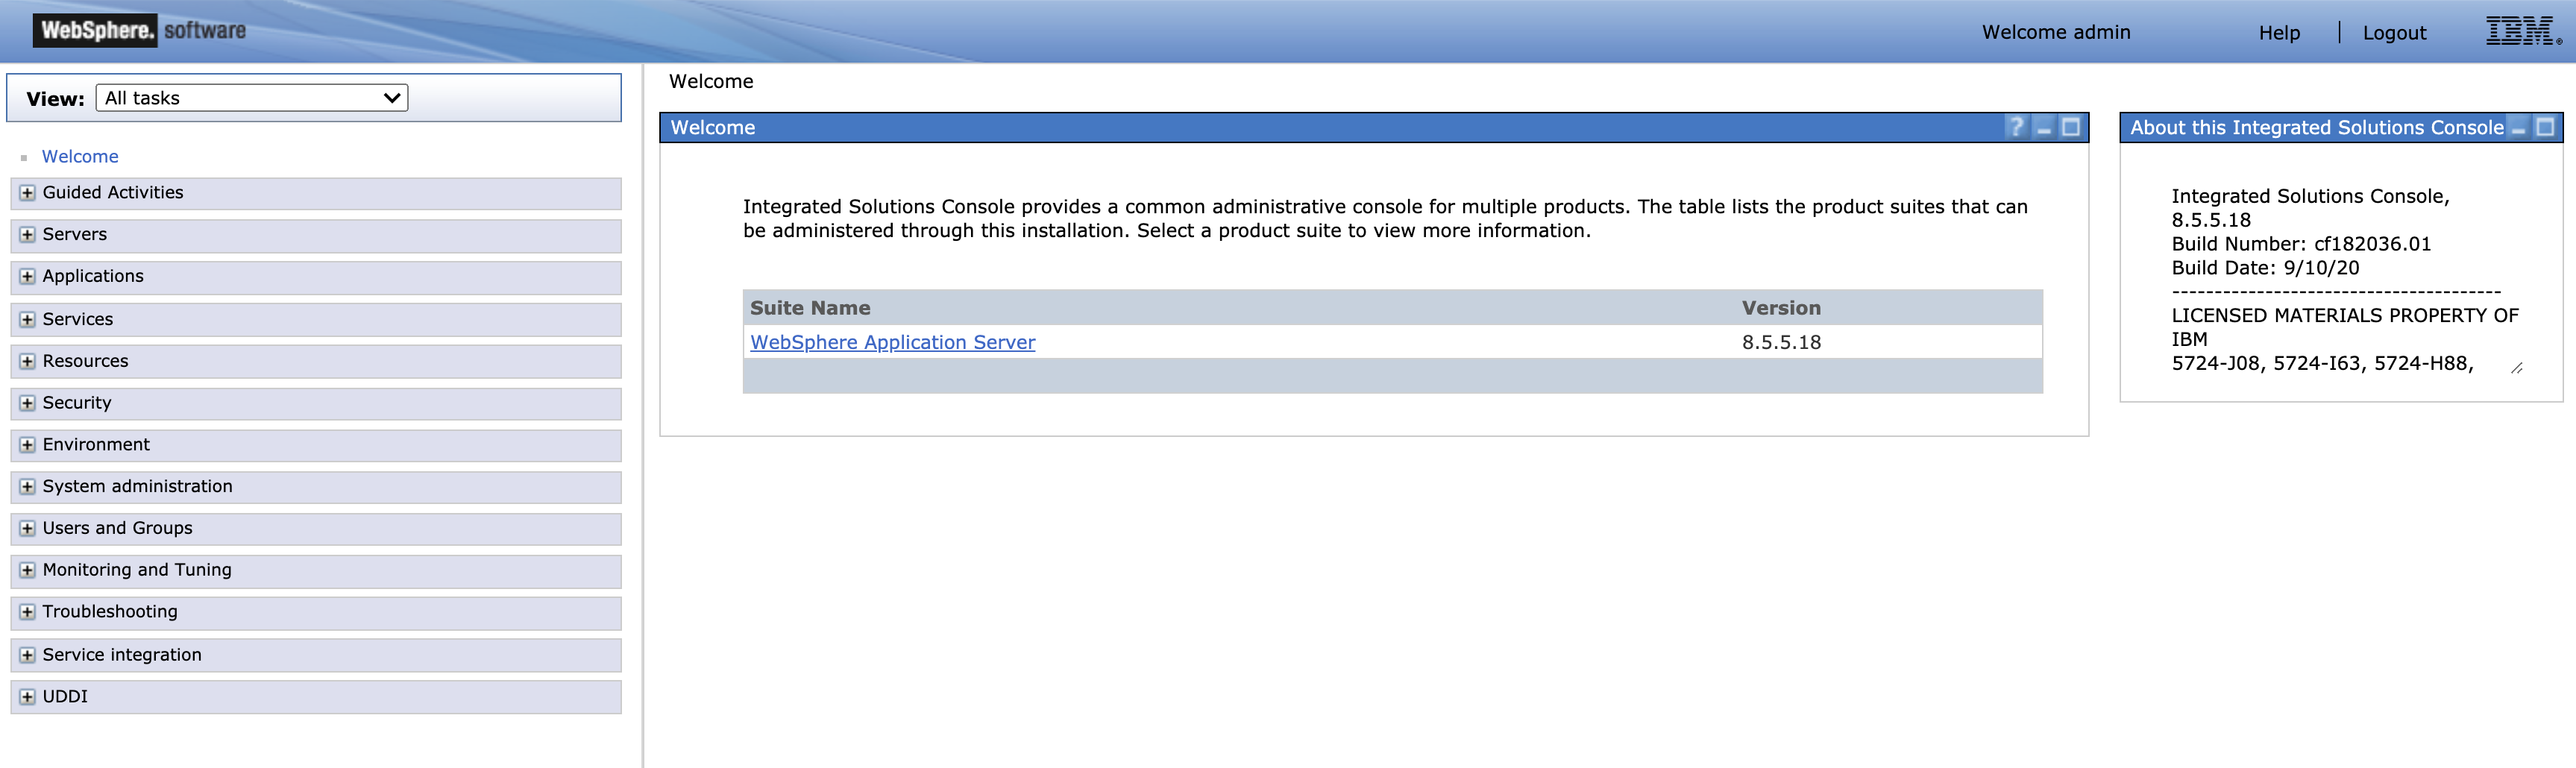
You can now go to http://ip-address:9060/ibm/console and see the admin console. You can log in with admin as the username.
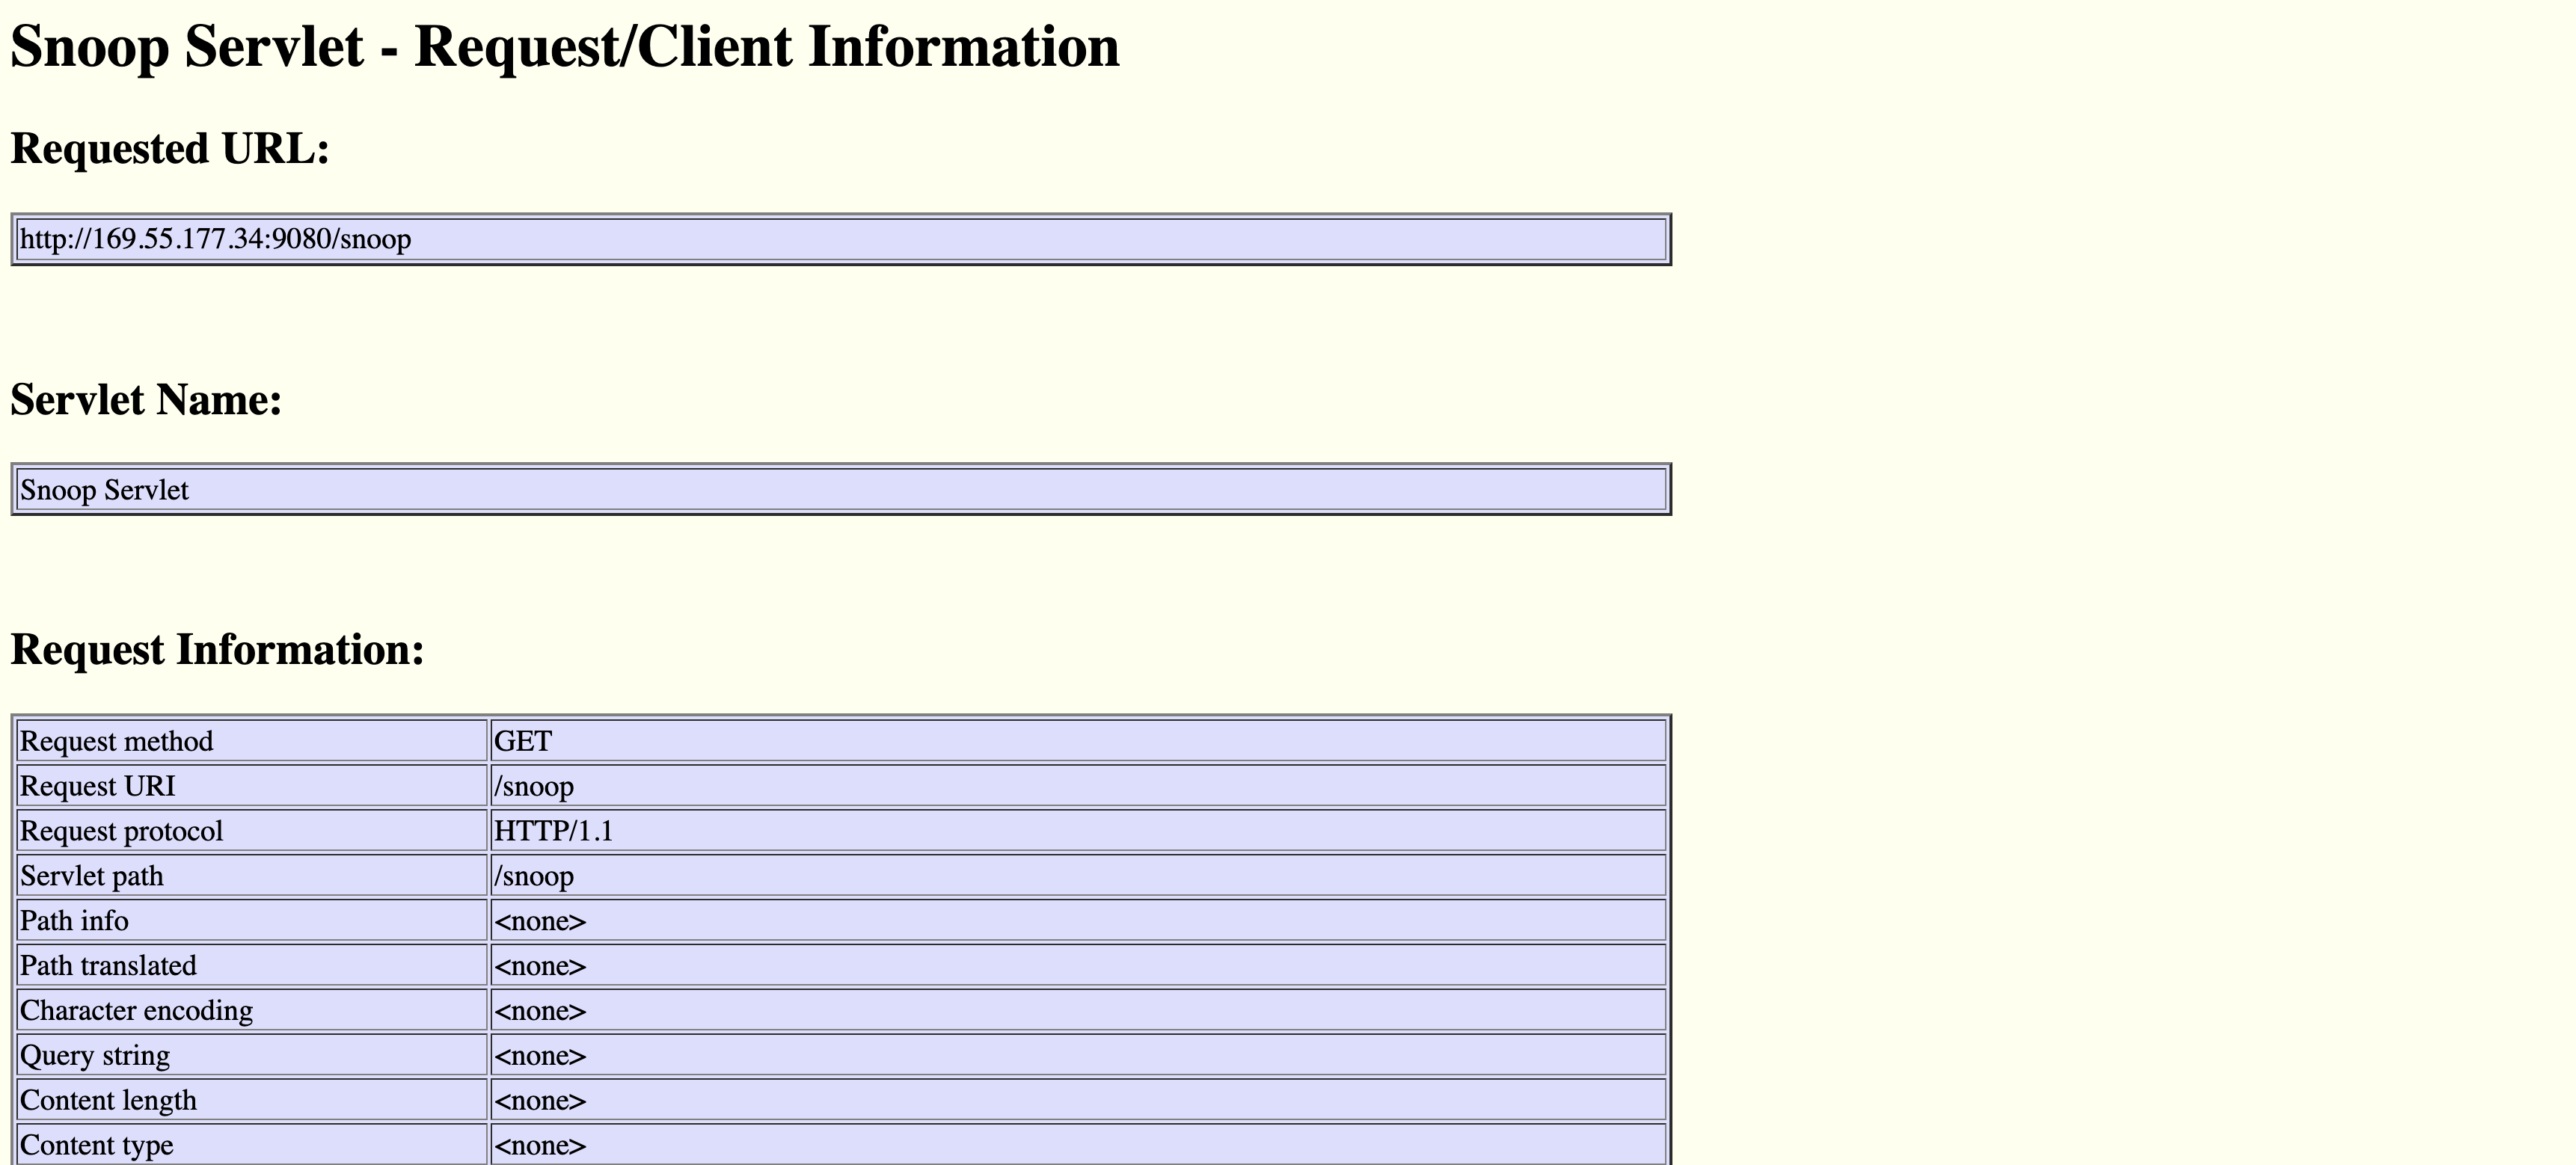
You can go to http://ip-address:9080/hitcount and http://ip-address:9080/snoop to see the default applications.

Run a more complex application
You can now install other, more complex applications. If you’d like to try the one I’m using you can check the AppMod GitHub Repo or download it with the following command:
wget https://github.com/IBM/appmod-resorts/raw/master/data/examples/modresorts-1.0.war
From the admin console click on the Applications menu and under Application Types choose the WebSphere enterprise applications option.
Click the Install button to start the installation process. It’ll ask you to upload a WAR, EAR, or JAR file. Choose the modresorts-1.0.war file. An install wizard will start, the default values are fine.
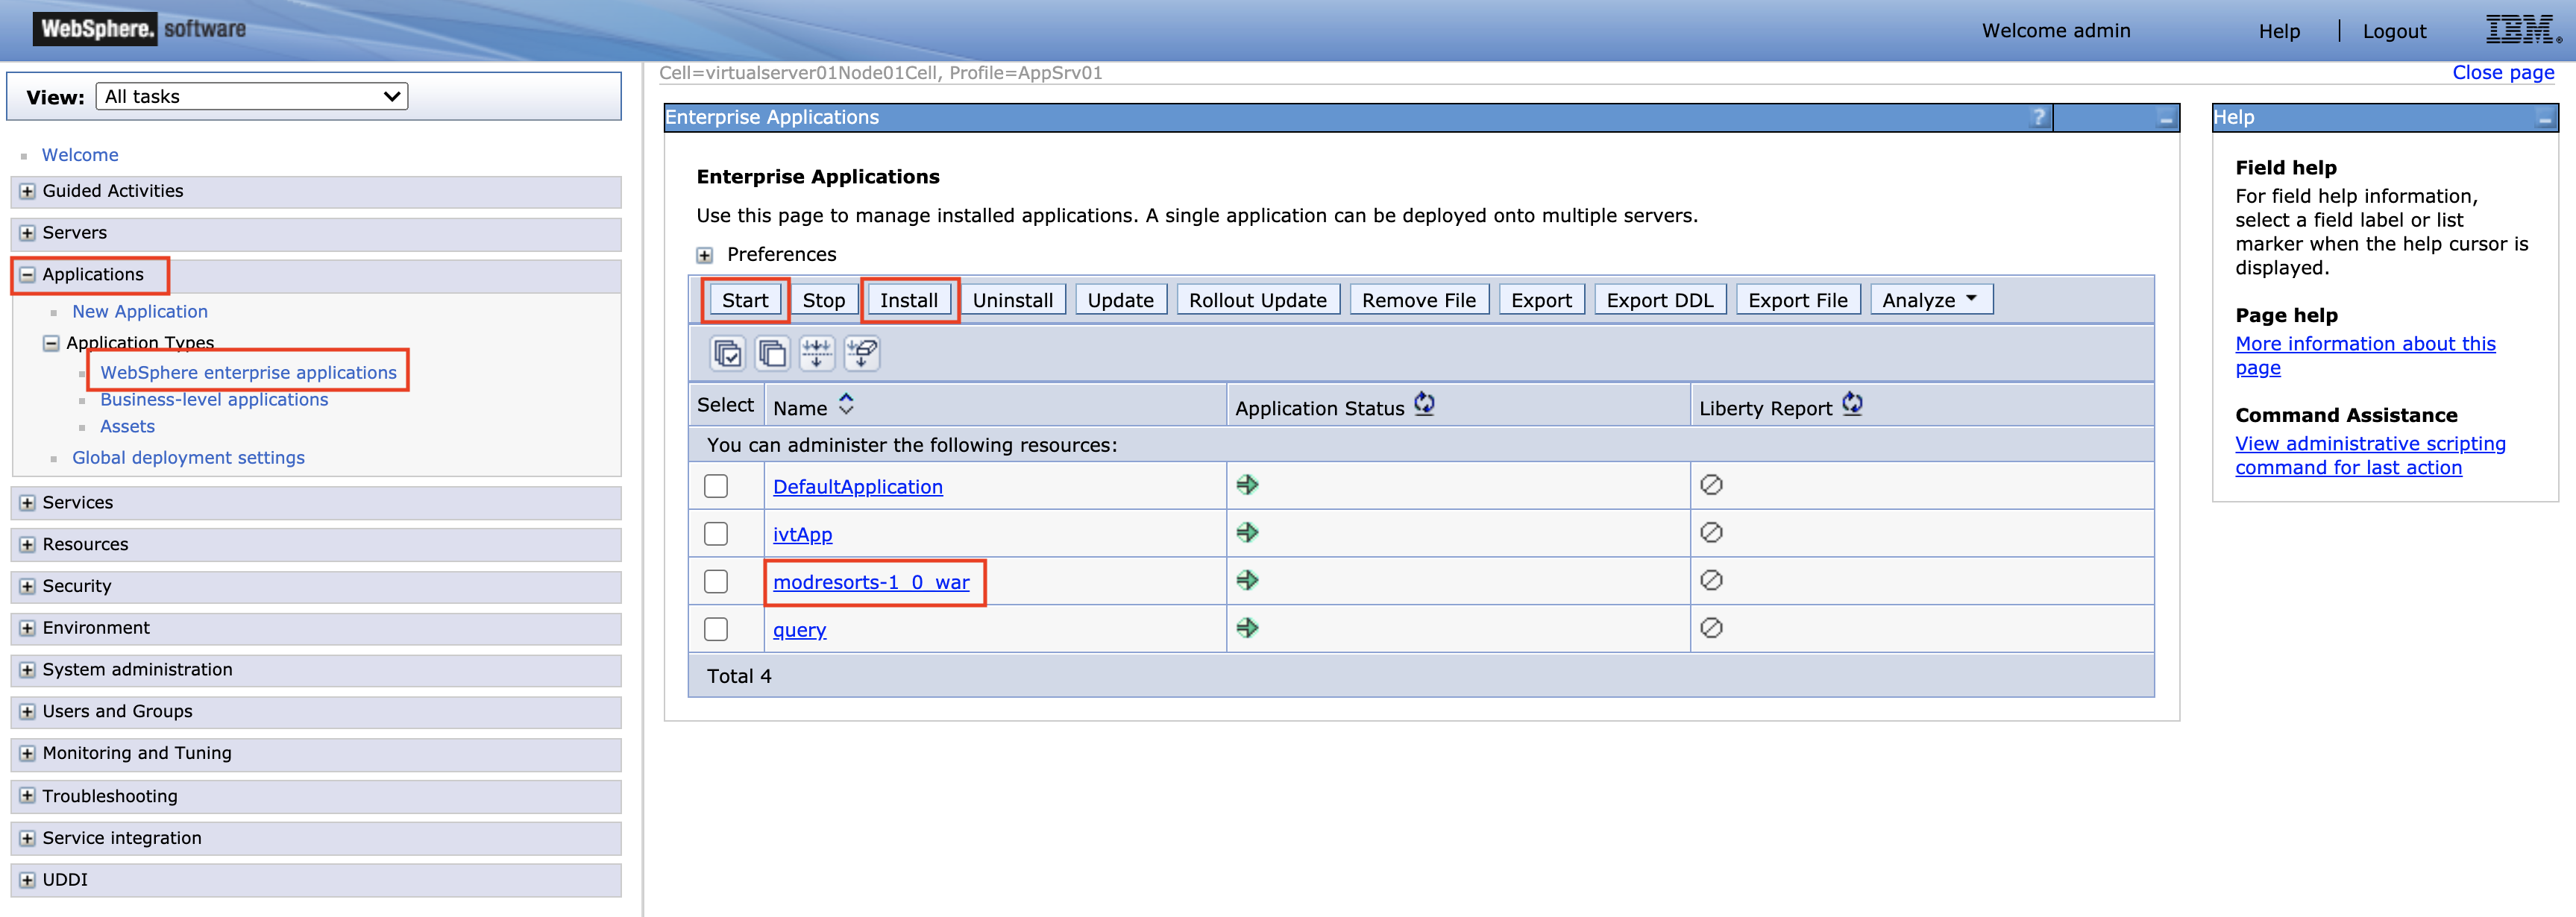
Once installed you must start the application by clicking the Start button. The Application Status should turn green.
Going to http://ip-address:9080/resorts will bring up the example application.

Summary
Well that was a blast from the past! I hope this is useful for all of your application modernization needs!